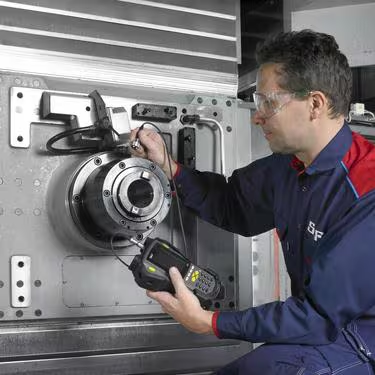
Spindle service
Only if all aspects are taken into account and checked during the repair of your spindle can lasting spindle performance and the best results be achieved. That is why a comprehensive service program for this important machine component is crucial. All necessary work is carried out during the repair. In detail these are:
- General visual inspection
- Engine test and e-check
- Checking the drive components
- Dismantling the spindle
- Checking the tool clamping system
- Stock control
- Failure analysis
- Sealing test
- Bearing journal check
- Shaft and spindle nose control
- Quotation preparation
- Balancing the rotating parts
- Mounting the spindle with new bearings
- Checking the patency and tightness of all supply systems
- Rotary encoder setting
- Axial run-out control
- Bearing air control
- Run-in (test field)
- Operating temperature at rated speed (test field)
- Unbalance and vibration control (test bay)
- Documentation and feedback
Repair of all brands
The verification of all repair work is a central component of our quality assurance. Our repair procedures are based on recognized standards and clearly defined acceptance criteria, which are based on many years of experience in the development and operation of machine tool spindles. This enables us to guarantee and document a high-quality service for every repair.
A modern data management system is used for the documentation. Before being repaired, each spindle is given an individual identifier so that the spindle can be tracked throughout its entire life cycle. Before a spindle leaves our company, it has to prove its performance on the test bench. Our test laboratory has 20 test benches available for this purpose, which can be used to thoroughly test almost any spindle, regardless of design, drive type and lubrication system.
The first step is to check and ensure that the spindle is able to reach the required speed without overheating. The sometimes very time-consuming running-in of the spindle in the machine is taken care of in advance; spindles repaired by us are immediately ready for use.
All functionally important parameters such as concentricity, axial run-out, pull-in force of the tool clamping system and many more are checked and documented. (see test report) Finally, a vibration measurement is carried out, not only to check that the spindle is in perfect mechanical condition, but also as a starting value for a regular condition check of the spindle during operation. It is important to us that our customers can not only see for themselves that the spindle is in perfect condition, but that they also have output data available to record changes in the condition during operation. The test report is therefore enclosed with every spindle.

